Assuming you are referring to the car seat cover and not the infant carrier:
To put the Chicco car seat cover back on, first remove the harness straps and headrest. Then, thread the harness straps through the openings at the back of the seat.
Next, pull the fabric of the seat cover over the back of the car seat and tuck it in around the edges. Finally, reattach the headrest and tighten or loosen as needed.
- Unzip the cover and lay it out flat
- Line up the front edge of the cover with the front edge of the seat, making sure that the straps are in the correct slots
- Pull the cover over the back of the seat, tucking in any excess fabric
- Zip up the cover, making sure that it is snug against the seat
Chicco Keyfit – Cleaning Car Seat (Part 2 After cleaning, step by step reassembly)
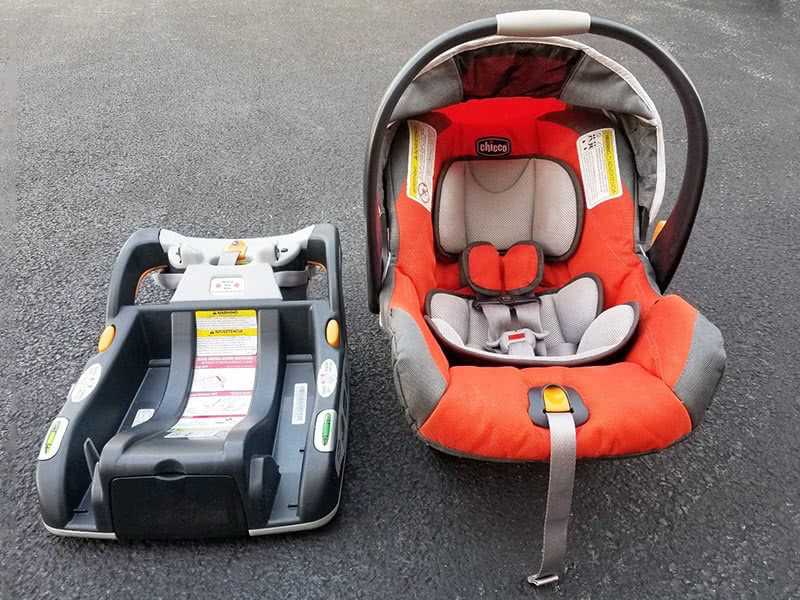
Credit: babygearessentials.com
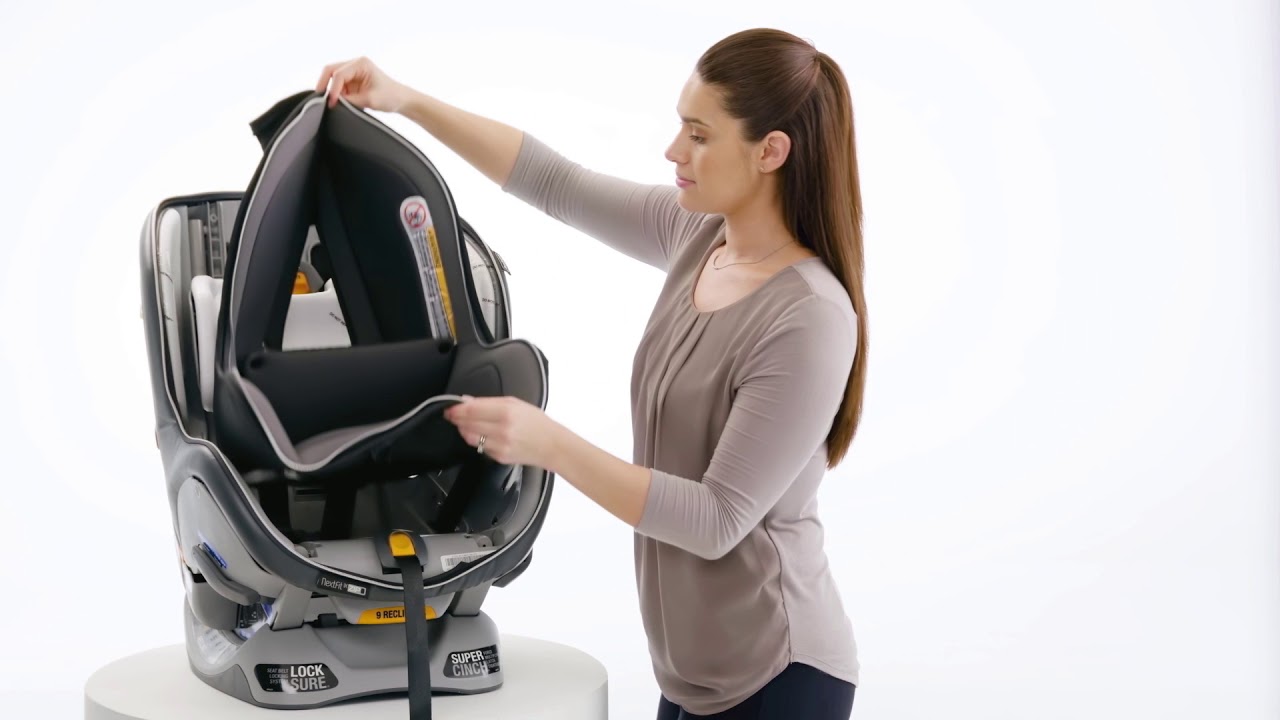
How Do You Put the Cover Back on a Chicco Nextfit Car Seat?
Assuming you are talking about the NextFit Zip car seat:
To reattach the cover on your Chicco Nextfit car seat, first remove the harness and headrest. Then, line up the tabs on the cover with the slots on the back of the seat and push down until they click into place.
Finally, reattach the harness and headrest.
How Do You Put the Cover Back on a Chicco Keyfit 35?
Assuming you are referring to the car seat cover and not the manual:
The Chicco Keyfit 35 car seat comes with a removable cover that is easy to put back on. To reattach the cover, first make sure that the straps are not in the way.
Then, line up the fabric tabs on the cover with the slots on the seat. Push down firmly until you hear a clicking sound, indicating that the cover is in place. Finally, adjust the harness straps so that they are not twisted or tangled.
How Do You Put the Fabric Back on a Chicco Fit 2?
Assuming you are referring to the Fit2 car seat cover:
First, remove the harness straps and headrest from the seat. Next, loosen but do not remove the two front bolts on either side of the seat using a Phillips screwdriver.
Carefully pull the fabric away from the foam padding on the back of the seat, being careful not to tear it. Set the fabric aside. Reach inside the back of the seat and release each of four plastic snaps that hold the padding in place.
Remove and set aside both layers of padding. Unscrew and remove two more bolts from underneath each armrest, then lift up on each armrest to detach it from its mounting bracket beneath. Set armrests aside with other removed parts.
How Do You Put the Padding Back on a Chicco Car Seat?
If you need to put the padding back on a Chicco car seat, there are a few things you’ll need to do. First, remove the seat from the car. Next, locate the screws that hold the padding in place.
These are usually located at the top and bottom of the seat. Once you have found these screws, remove them with a screwdriver. Then, carefully pull the padding away from the seat.
Be careful not to tear it. Finally, reverse these steps to reattach the padding to the seat.
Conclusion
If you have a Chicco car seat, you know how important it is to keep the cover clean. But what do you do when the cover gets dirty and you need to put it back on? Here are some tips for putting the Chicco car seat cover back on:
1. Make sure that the seat is completely dry before you try to put the cover on. If there is any moisture on the seat, it will make it harder to put the cover on and could cause mold or mildew to form.
2. Start by putting the back of the cover on first.
Then, stretch the sides of the cover over the top of the car seat and tuck them in underneath.
3. Once the sides are tucked in, pullthe front ofthe cover overthe topofthreeseatand secureitin place withthe strapsor Velcro closures.
4. Ifyou havea headreston yourcarseat,makesurethatitisin placebeforeyouputthecoveron so thatit doesn’t get bunched up underneath.